Partition an external hard drive on Macbook can be very useful, especially when you have a lot of files to manage. But a lot of questions can arise when considering this option. How? 'Or' What partition to properly external hard drive on Macbook? How? 'Or' What divide an external hard drive on Macbook? Should you partition a Mac ssd? What to do if the external hard drive is grey ? How partition an external hard drive PC on Mac? How change Mac partition scheme ? How to switch from an external hard drive Mac to an external hard drive PC and vice versa? What to do if unable to partition hard drive on Mac? What partition software to choose on Mac? How? 'Or' What partition a Mac external hard drive without having to format it? You will find all your answers in this article. Good reading !

Why partition external hard drive on Mac?
- If you want back up your data on Mac, you will need to use time Machine and therefore, use an external hard drive. In this case, a partition dedicated to time Machine allow you to limit the size of the Backups.backupdb folder.
- You can also create a partition for iPhoto library and thus obtain a single library for several machines, convenient.
- Partition the external hard drive can be useful in order to restore system without affecting data: It is important not to back up the system to the same partition as the files.
Finally, if your external hard drive only represents a pure backup drive, creating partitions is of little interest then: it will be better to create folders and subfolders directly on your external hard drive.
Partition an external hard drive on Mac
Partition an external hard drive will come back to the divide into several individual sections that will function independently of each other, like a separate volume. When an external hard drive is partitioned, each partition will be mounted as one single hard drive Finder. Partitioning an external hard drive is quite simple, although it should be considered that this action could result in loss of personal data. Partitioning an external hard drive on Mac only requires thedisk utility.You can create sixteen partitions maximum with thedisk utility. Don't panic, it is possible to format a single partition instead of the entire disc, you just have to select the partition in question.
Here are the steps to follow in order to partition external hard drive on Mac:
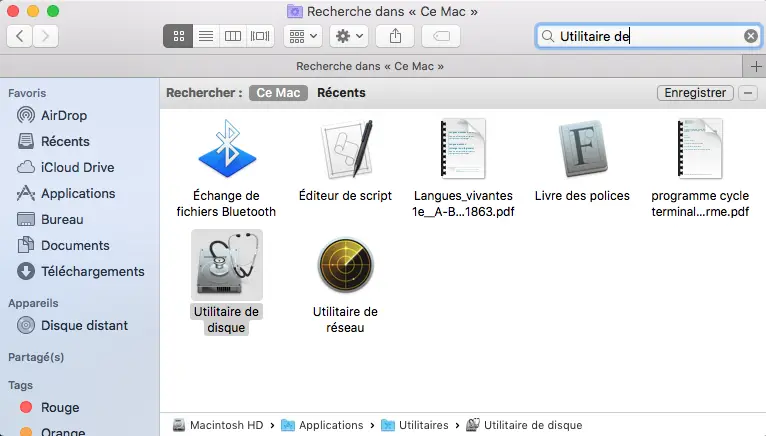
- We must open theDisk Utility. If you can't find it in your Dock, you can search for it using the Finder.
- You can now open the " Partition«
- If you use your external hard drive for the first time (if it's new or just formatted) you need to choose a predefined partition scheme from the drop-down menu. You can then choose the number of partitions you want to perform. You have the possibility to rename each partition so that it is as clear as possible. Now click on Apply in order to validate the partition.
- If the disk has already been used and therefore contains data, then you will need to use the button +. If you do not use this button, you may erase existing data on your external hard drive. You can also choose size of each of the partitions by increasing or decreasing the space using your mouse or Trackpad.
The option "partition" of the external hard drive remains grayed out? Change Macbook Partition Scheme
It may happen that after erasing data from your external hard drive, the option Partition is completely grayed out, and therefore unusable. Formatting will not change this problem. It will be necessary to go to Disk Utility (make sure you have the latest version ofDisk Utility). The change of partitioning scheme (going from MBR to GUID for example) will be done from the button Clear. The contents of your external hard drive will be erased (make sure to save it beforehand) and you can then partition it in GUID (with the possibility of formatting one partition in Mac OS and the other in MS DOS for example).
How to partition an external hard drive on Mac
It is of course possible to delete hard drive partition on Mac. To do so, nothing could be simpler: you just have to select partition you want to delete and then click on the button __. The more data your partitions contain, the longer the deletion time will be, and vice versa. The external hard drive fragmentation rate is also taken into account for the time of division. If your external hard drive is fairly new and does not contain much data, then deleting partitions will only take a few minutes.
How to make a hard drive compatible with Mac
Your brand new external hard drive may not be (yet) compatible with Mac. So, when connecting the latter, nothing will happen. Apple won't recognize it. We will explain the steps to follow in order to format your external hard drive and make it both PC and MAC compatible. Before this step, make sure that your hard drive does not contain any data. This is because formatting will erase all the content of your external hard drive, in its entirety.
Here are the steps to follow in order to make your compatible external hard drive both with Mac et PC:
- You must open the file Application
- You can then click on the folder Disk Utility
- You will then need to select the icon that represents your external hard drive in the left sidebar
- You can now click on the tab Clear located at the top of the window
- You must now select Mac OS Extended (journaled)
- You can then reappoint your external hard drive
- We must now proceed to formatting of your external hard drive by pressing the tab Clear
Here are the steps on how to make your external hard drive compatible on both Mac and PC:
- You need to connect your external device to your Mac using the USB cable (which must be supplied with your external hard drive when purchasing the latter)
- We must now open Disk Utility
- Now click on your external hard drive (in the left column)
- You can now press the button Clear
- You must now select the MS-DOS format in the list presented to you
- Tap the tab Clear and voila.
If your Macbook does not recognize your external devices, we advise you this article which lists the steps to follow in order to resolve this problem.
